15 minute read ⏰
Update 2021: Notion's official API has been released. This blog post is still relevant though and nothing signifcant has changed. I would recommened taking a look at react-notion-x instead of notion-api-worker as it provides more features and is activitly maintained. They can easily be interchanged.
Introduction
Notion as a CMS would be a dream come true. I currently use Notion as my go to solution for everything I write: my diary, stories, ideas, notes, and research. Whilst it's great for personal things there is no option to access that content outside of Notion. You can share pages, sure, but it doesn't offer much flexibility:
- No custom domain
- No public API
- No ability to add custom scripts such as analytics
I wanted an easy way to host my blog whilst still using Notion, so I decided to do a little bit of research into accessing Notion’s private API. Luckily, the people over at splitbee have produced notion-api-worker, a worker which exposes some of Notion’s API functionality. It uses Notion’s private API to access any content, including your private pages too. This can be considered as a quick hack to get around Notion's lack of API support, but so far my experience with it has worked flawlessly and it’s been stable. Notion have mentioned they are working on an official API, but it still seems far into the future.
The implementation is very easy (too easy in fact), that it's worth giving it a go. I'll show you in this blog post — which has been written in Notion! — how to set up a quick and easy blog with React.
React
Let's quickly setup our React project:
npx create-react-app react-notion-cmsAdd react-notion and notion-api-worker:
yarn add react-notion
yarn add notion-api-worker
Now we have everything we need to start setting up our Notion CMS. Let's head over to Notion and create a simple page, this will be our first blog post.
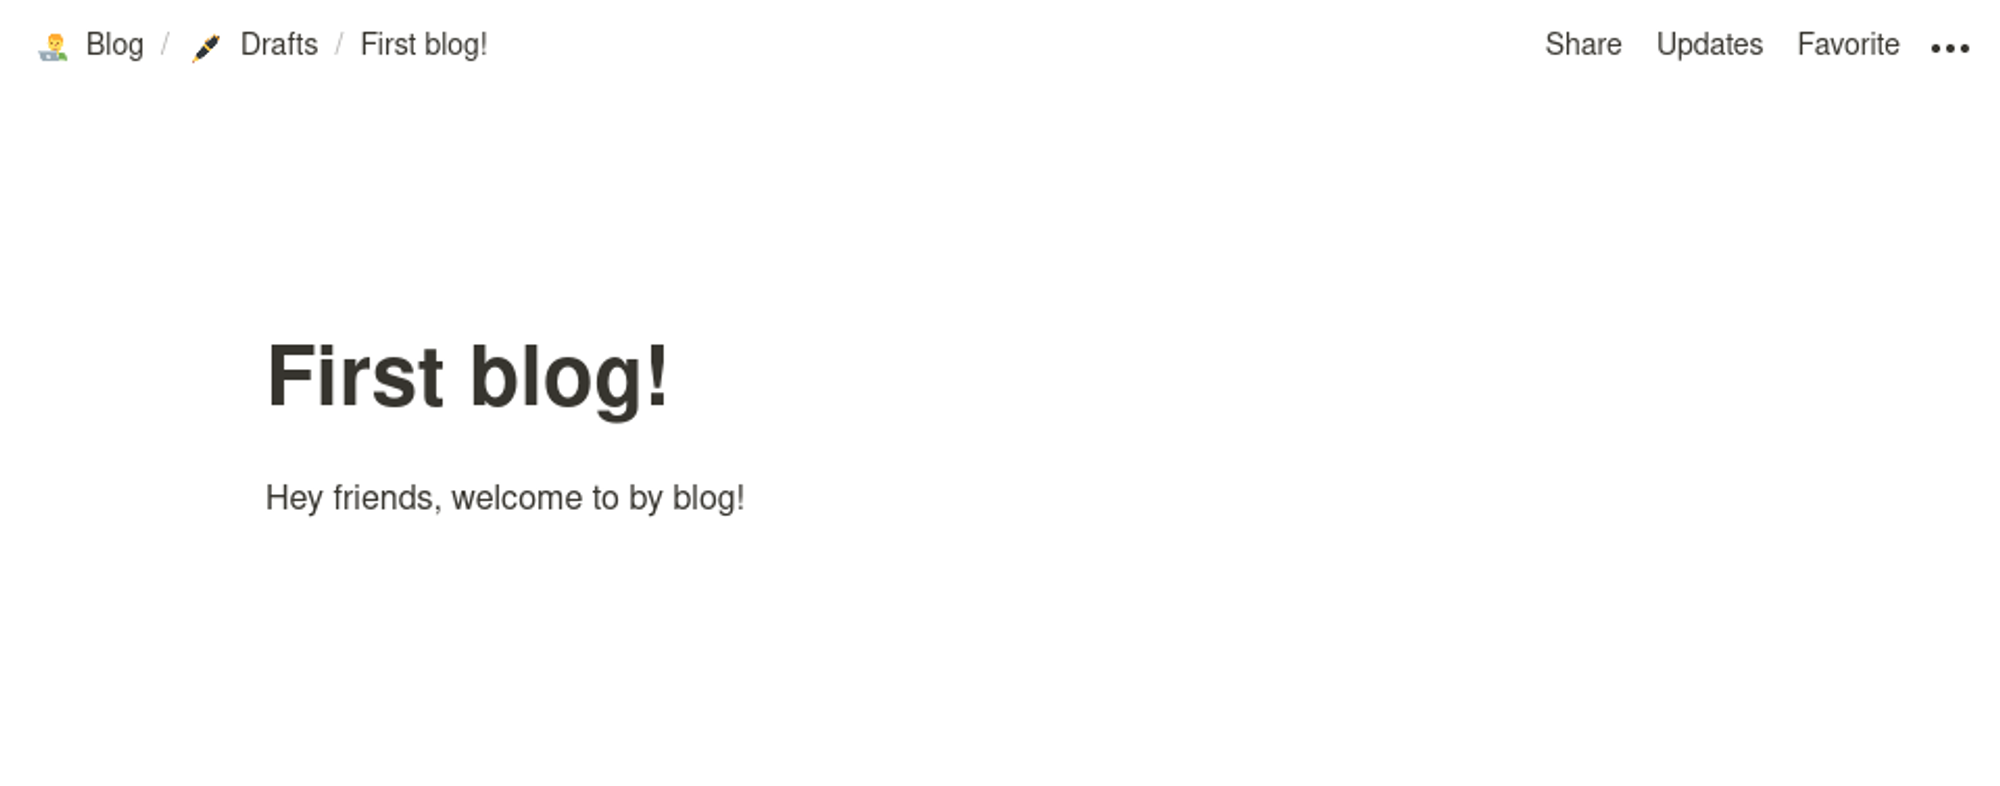
We'll need to allow this blog to be viewed by anyone, so click 'Share' on the top right and enable the 'Share to web' option, this will mean your blog can be accessed publicly.
Every Notion page has a unique ID, you can find it in the URL of the page you are on, it will look something like this:
9563b7718c044d06b3e707374e8ed141Let's try render this blog in React!
import React from 'react';
import { NotionRenderer } from "react-notion";

import "react-notion/src/styles.css";
import "prismjs/themes/prism-tomorrow.css";


class App extends React.Component {
  constructor(props) {
    super(props)
    this.state = {
      blockMap: {}
    }
  }

  async componentDidMount() {
    const blogData = await fetch(
      "https://notion-api.splitbee.io/v1/page/9563b7718c044d06b3e707374e8ed141"
    ).then(res => res.json());

    this.setState({ blockMap: blogData })
  }

  render() {
    return (
      <div>
        <NotionRenderer fullPage blockMap={this.state.blockMap} />
      </div>
    )
  }
}

export default App;
This will result in this:
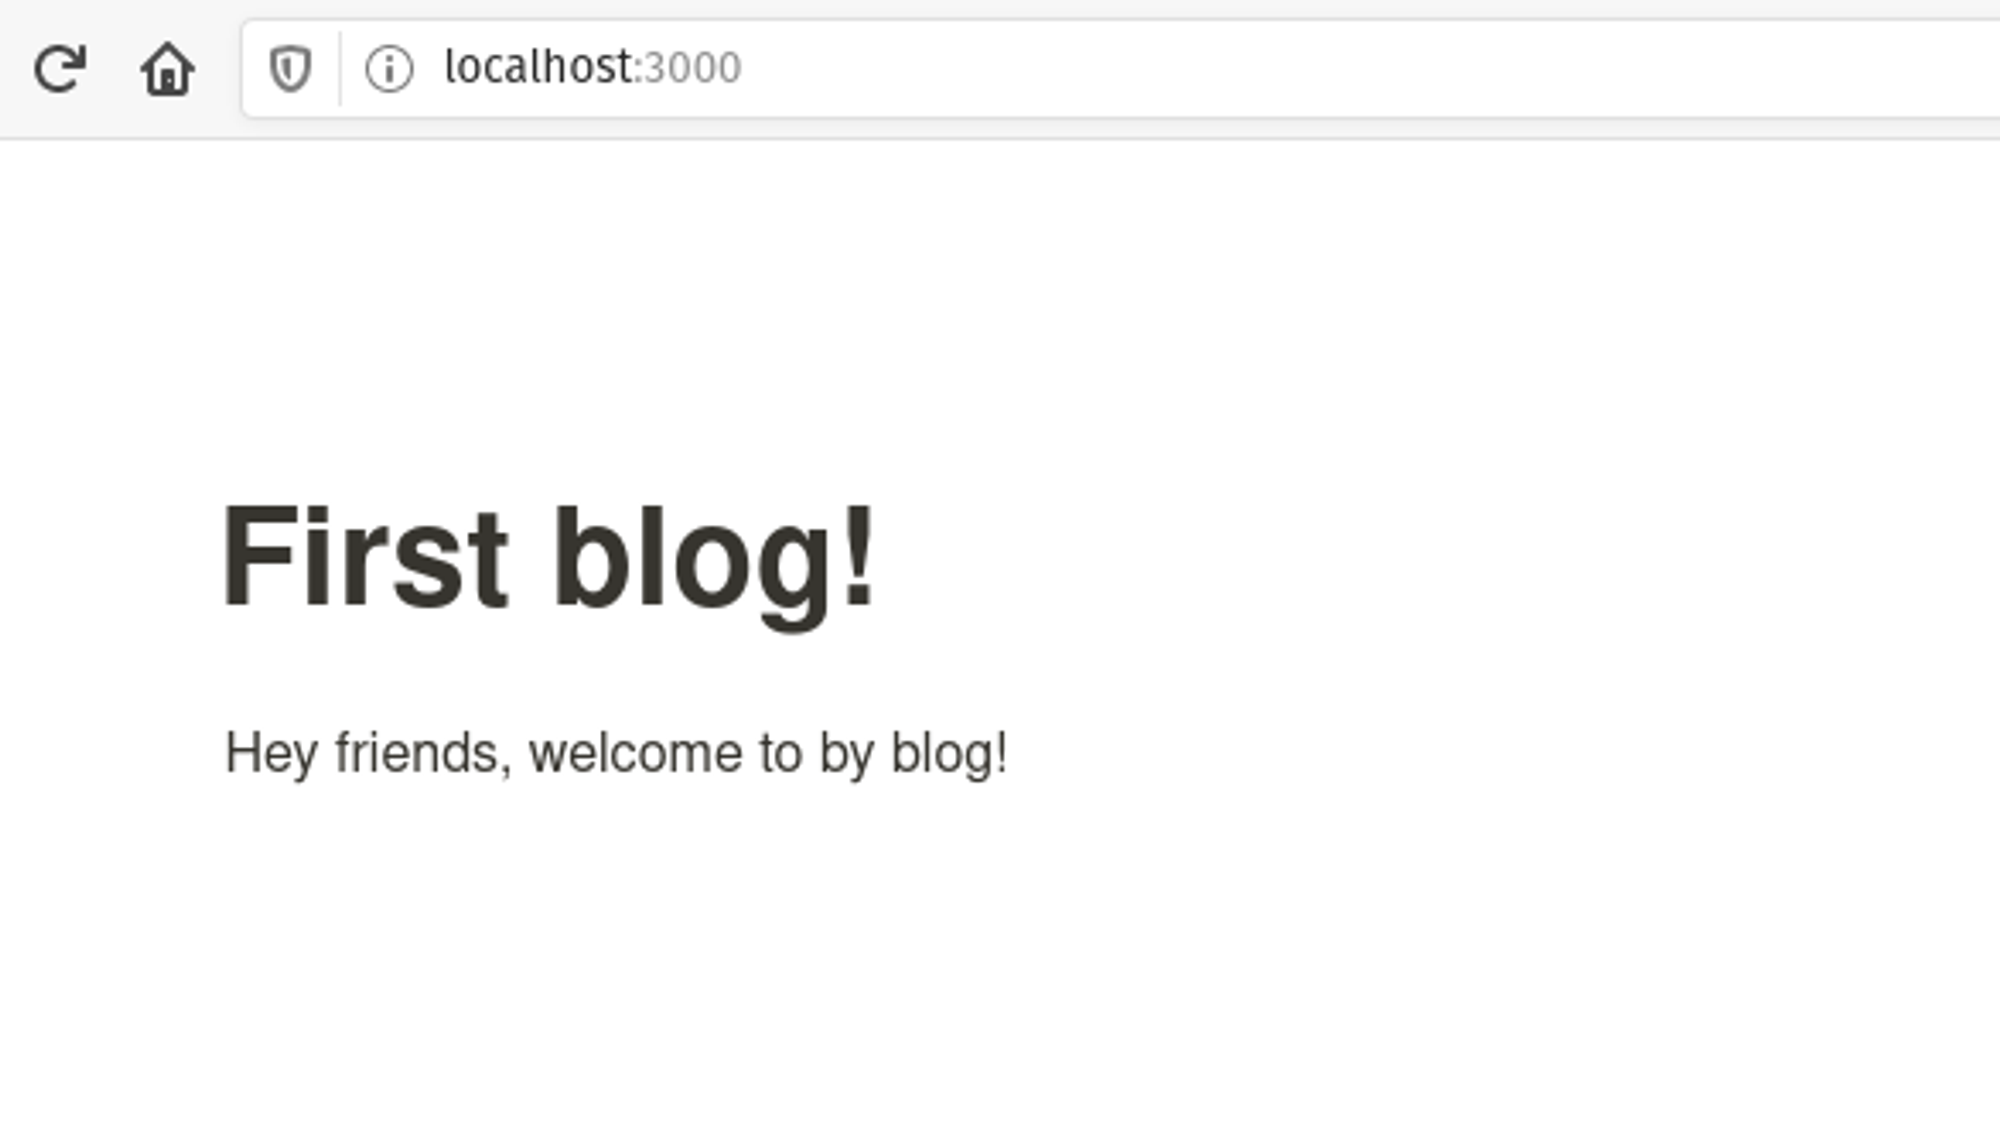
Hurray! It was that easy! We've got headless CMS working!
Let's break down exactly what we're doing:
We're using
componentDidMount() to load in our Notion post data. The link we use is provided by the notion-api-worker, I will go in more detail on how we can setup our own worker in later blog post, but for now, we can use their public link. We append our unique blog post ID to the link and update the state to hold our data.
async componentDidMount() {
    const blogData = await fetch(
      "https://notion-api.splitbee.io/v1/page/9563b7718c044d06b3e707374e8ed141"
    ).then(res => res.json());

    this.setState({ blockMap: blogData })
  }
In our render function, we use the react-notion wrapper to load in our
blockMap, we also give it a prop of fullPage to render the page title as well.render() {
return (
<div>
<NotionRenderer fullPage blockMap={this.state.blockMap} />
</div>
)
}This is great, but it's only a one off, how can we make it so it shows you a list of all our blogs, and links for you to access them? This is where the power of Notion's tables come into play.
Notion Table
We'll need to create a simple table to keep track of our blogs, this is what our API will hit when fetching a blog post.

You can add as many fields as you like, but to keep things simple I've just added these columns:
id, title, slug, status, description, dateAdd in the first post we created, make sure the the
id is exactly the same as it is in the blog post URL. This table will act as our source of truth, a way to identify blog posts by either their title, slug or id.Enable the share option again and copy the ID from the URL. Make sure you only copy the first part of the ID (skipping the extra
?v=).Let's jump back to React.
const notionTableData = await fetch(
"https://notion-api.splitbee.io/v1/table/4a900f47ce9143b59695cf25d8461893"
).then(res => res.json());
this.setState({ tableData: notionTableData })I've updated our GET request with a new link, now we are calling the
/table/ endpoint. Add your table page ID and let's see what it returns!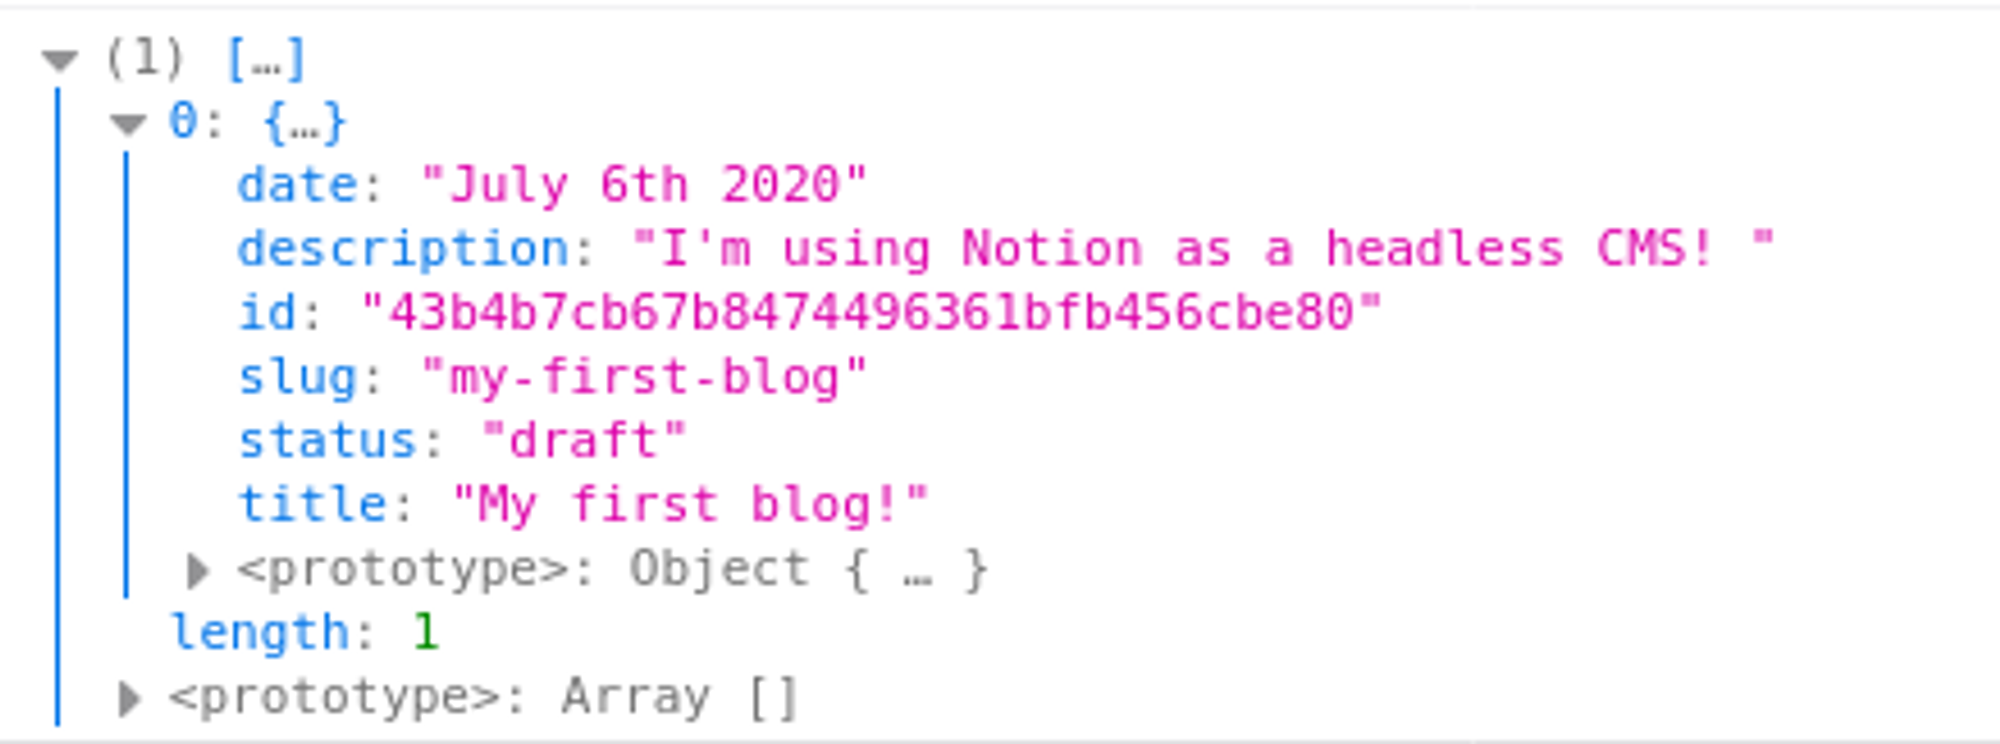
And just like that we get a list of all the rows in our table! Everything is returned in an object so we can easily display all our blogs. Let's try render it:
render() {
return (
<div>
{this.state.tableData.map((blog, index) => {
return (
<Article
title={blog.title}
description={blog.description}
date={blog.date}
link={'/blog/' + blog.slug}
key={index}
/>
)
})}
</div>
)
}I made a simple
<Article/> component to output our blog post and then in our render function made a loop to go over the Notion data we fetched from the API.function Article(props) {
return (
<div style={{ backgroundColor: '#b0ffc0', borderRadius: 8, padding: 12, margin: 12, width: 'max-content' }}>
<a href={props.link} style={{ textDecoration: 'none' }}>
<h1>{props.title}</h1>
<p>{props.description}</p>
<p>{props.date}</p>
</a>
</div>
)
}Let's look at the result!
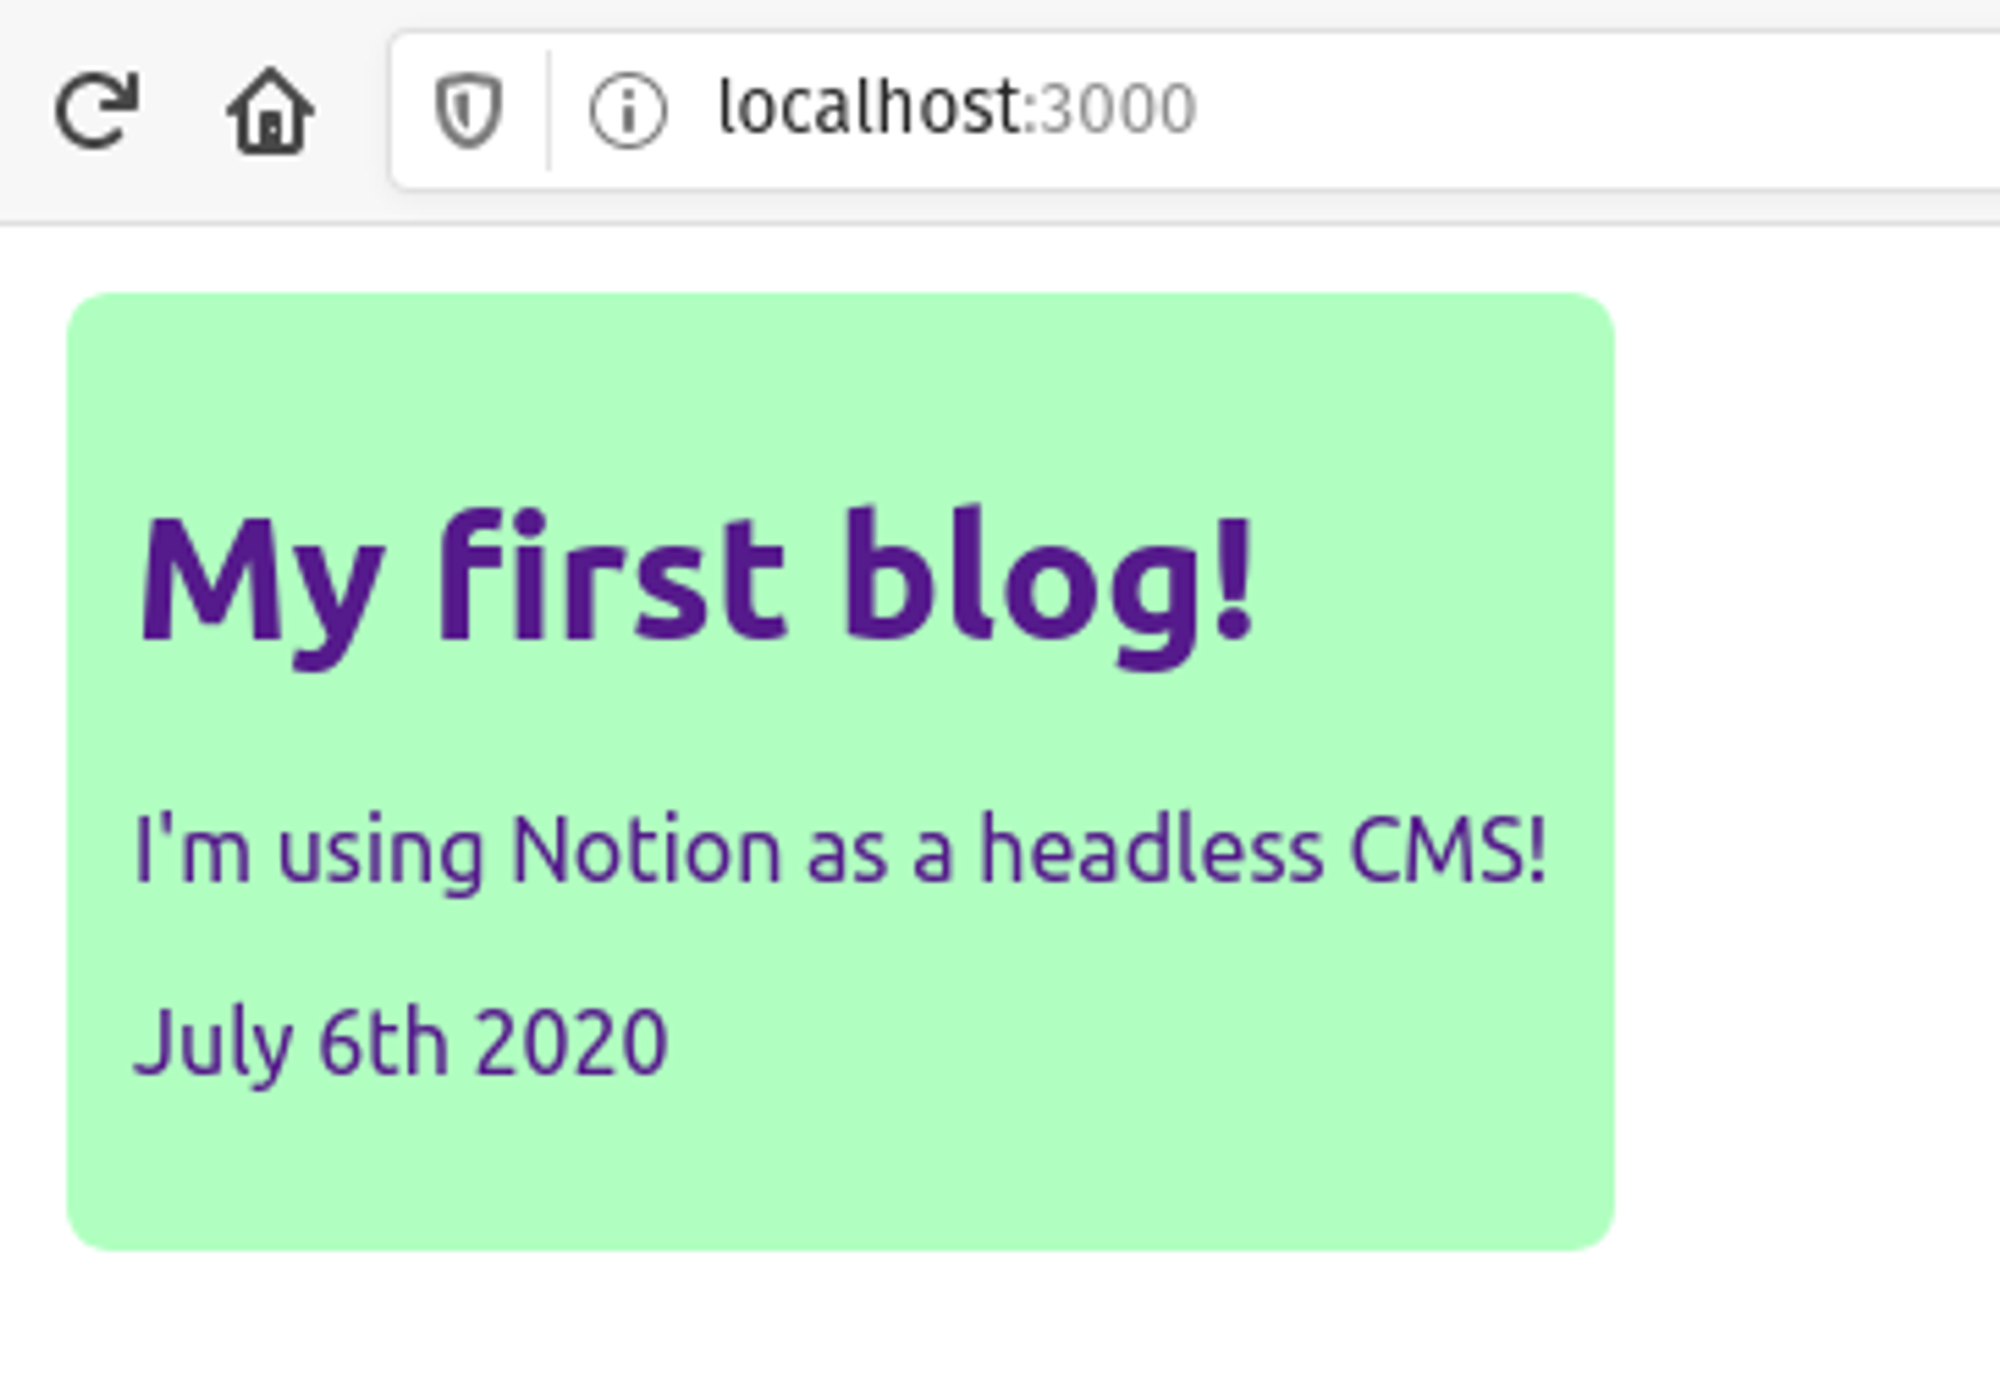
Pretty cool ah? Let's add a new row to our table in Notion.
Magic! ✨ Our second blog post appears straight away on our home page!
The next step now is to link these blog posts to actually render the blog content. This can be achieved quite easily with our current setup. But we'll need to first install react-router-dom to be able to navigate through our site.
yarn add react-router-dom// App.js
import React from 'reactSlug';
import { Route, Switch, BrowserRouter } from "react-router-dom";
import Blogs from './pages/Blogs'
import BlogPost from './pages/BlogPost'
class App extends React.Component {
render() {
return (
<BrowserRouter>
<Switch>
<Route exact path="/" component={Blogs} />
<Route exact path="/blog/:blogTitle" component={BlogPost} />
</Switch>
</BrowserRouter>
)
}
}
export default AppOur
App.js now looks like this. I moved all of our previous code into its own separate file called ./pages/Blog.js to keep things tidy.Take note of
path="/blog/:blogSlug", this is the path which will allow us to access our blog post content, we're giving the parameter of :blogSlug which we can access later in our component.We'll call that component
./pages/BlogPost.js. Here we'll render the contents of the blog post.// BlogPost.js
import React from 'react';
import { NotionRenderer } from "react-notion";
import "react-notion/src/styles.css";
import "prismjs/themes/prism-tomorrow.css";
export default class BlogPost extends React.Component {
constructor(props) {
super(props)
this.state = {
blockMap: {}
}
}
async blogNameToId(blogSlug) {
const blogsDatabase = await fetch(
"https://notion-api.splitbee.io/v1/table/4a900f47ce9143b59695cf25d8461893"
).then(res => res.json());
try {
const blog = blogsDatabase.filter(blog => blog.slug === blogSlug).pop();
return blog.id
} catch {
return null
}
}
async componentDidMount() {
const blogId = await this.blogNameToId(this.props.match.params.blogTitle)
const blogData = await fetch(
"https://notion-api.splitbee.io/v1/page/" + blogId
).then(res => res.json());
this.setState({ blockMap: blogData })
}
render() {
    return (
      <div>
        <NotionRenderer fullPage blockMap={this.state.blockMap} />
      </div>
    )
  }
}Let's break this down:
async componentDidMount() {
  const blogId = await this.blogNameToId(this.props.match.params.blogTitle)
  const blogData = await fetch(
    "https://notion-api.splitbee.io/v1/page/" + blogId
  ).then(res => res.json());

  this.setState({ blockMap: blogData })
}
We kick things off with a
componentDidMount(), we can access our blogSlug through the props in the URL using this.props.match.params.blogSlug. It's great that we have the blogSlug but we need the blog's unique ID to actually render the content. Let's find the blog's ID using our Notion table.async blogNameToId(blogSlug) {
const blogsTable = await fetch(
"https://notion-api.splitbee.io/v1/table/4a900f47ce9143b59695cf25d8461893"
).then(res => res.json());
try {
const blog = blogsTable.filter(blog => blog.slug === blogSlug).pop();
return blog.id
} catch {
return null
}
} We'll use JS filter to search through our tables contents and return the one we need.
const blog = blogsTable.filter(blog => blog.slug === blogSlug).pop();
return blog.idHere we match on the blog by it's slug, that means in our Notion table, all slugs must be unique. If we find a match, we return it's ID, else, we return null.
Then, we simply do exactly what we did at the start:
const blogId = await this.blogNameToId(this.props.match.params.blogTitle)
const blogData = await fetch(
  "https://notion-api.splitbee.io/v1/page/" + blogId
).then(res => res.json());

this.setState({ blockMap: blogData })
It's not the prettiest blog but it works! All from Notion! 🎉
Let's talk about some extra things we can do to make it even more polished. Firstly, we can add a check to see if the blog is in a 'draft' status or not. We can simply add this once we fetch our blogs.
// Blogs.js
this.setState({
  tableData: notionTableData.filter(blog => blog.status === 'live')
})
If you don't want to do another API call to find the blog's ID, you can append the ID to the end of the URL. Then simply grab the last part of the URL in
.pages/BlogPost.js. {this.state.tableData.map((blog, index) => {
return (
<Article
title={blog.title}
description={blog.description}
date={blog.date}
link={'/blog/' + blog.slug + '/' + blog.id}
key={index}
/>
)
})}We can also add our own custom CSS by referencing the
react-notion/src/styles.css file. Here's an example:.notion-small-text {
font-size: 14px;
}
.notion-quote {
white-space: pre-wrap;
word-break: break-word;
border-left: 3px solid currentcolor;
padding: 0.2em 0.9em;
margin: 0;
font-size: 1.2em;
}
.notion-hr {
margin: 6px 0px;
padding: 0;
border-top: none;
border-color: rgba(55, 53, 47, 0.09);
}Things to note
You might have noticed that our Notion table can be publicly accessed by anyone. This isn’t ideal if you're working on draft blogs; if someone is curious enough they can check the network response and find all your unfinished blogs and their IDs. This is fine if you haven't enabled sharing on the Notion pages themselves, but it's worth keeping in mind. A simple workaround would be to store your draft blogs in a separate table.
To truly fix this you can make use of notion-api-worker. This way you can access private pages, the only catch is that it requires some extra work to set up. This would allow you to send an authorisation token with every request making sure that your Notion URL stays private. Cloudflare offers a generous free plan with up to 100,000 requests per day which is what the current free notion-api-worker is hosted on.
As notion-api-worker is a worker, this means that requests can take some time to load if nobody has visited your blog in a while. From my experience, there is about a 5 second delay from when you load the page until you see your blog content. To fix this, you can create your own worker to cache your content or use NextJS to build a static website.
Conclusion
Notion is fantastic. I am a big fan of it. Having everything in one place for me is perfect, being able to work offline, sync content between all my devices and have a delightful experience while writing are all major factors to why I chose Notion for my blog. However, there are easier solutions to set up a quick and functional blog, that require even less code and effort (Jekyll is an example). At the end of the day it comes down to what you want from your website. I will definitely continue vouching for Notion as a CMS but it’s important to remember the caveats; this solution is currently using an unofficial API which can change at any time and you need some basic frontend knowledge to set up.
That's all for this blog post! There are many possibilities with what you can do with Notion, I hope I've inspired you to try out this approach for a headless CMS.
Here's the GitHub repo for the example: https://github.com/alexandargyurov/react-notion-as-a-cms-example
Published on June 8th 2020
